

Oracle Cloud Infrastructure offers a wide range of cloud services that enable you to build and run applications and services in a highly available hosted environment in deferent regions around the globe.
In case you have a Compute VM running in one region and want to migrate or clone it to another region, e.g. as a disaster recovery solution, here is a step by step instruction.
Migrating the Boot Volume
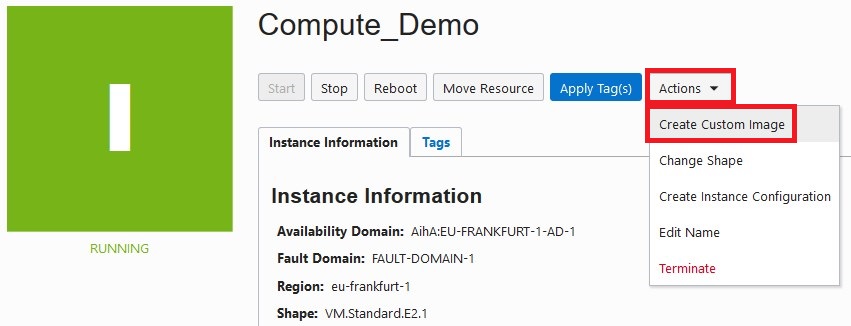
Step 1: Create a Custom Image from your Compute Instance:
From the Compute Instance Details page click on “Actions”, “Create Custom Image”.
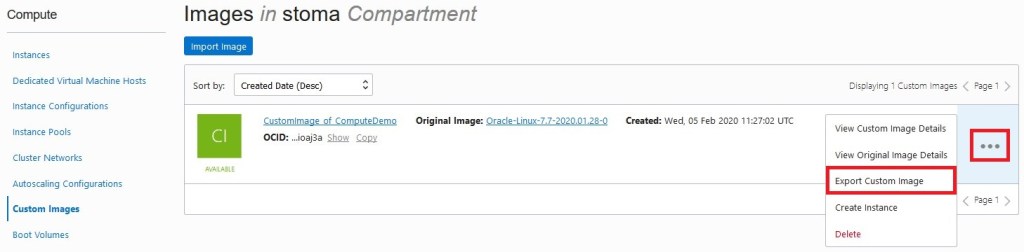
Step 2: Export the Custom Image to your Object Storage bucket:
From the menu on the top right side, click on “Compute”, “Custom Images”. Then from the Images Details side, click on the menu on the right and then on “Export Custom Image”. Select a bucket from the drop-down menu and click “Export Custom Image”.
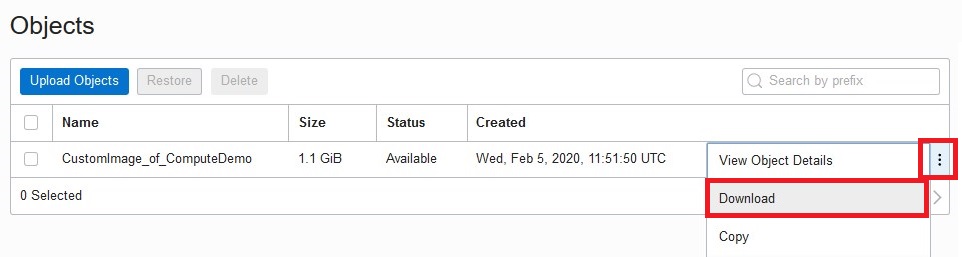
Step 3: Download the Custom Image to your local storage:
From the Bucket Details Page click on the menu on the right side and then on “Download”.
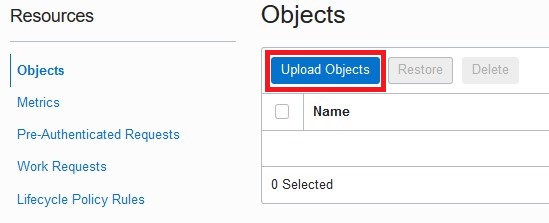
Step 4: Upload the Custom Image to the Object Storage in your TARGET region:
From the Bucket Details Page in your target region, click on “Upload Object” and select the file just downloaded in the previous step.
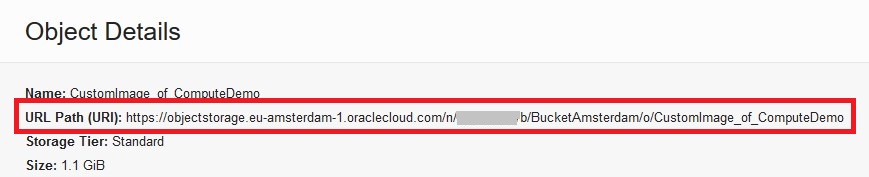
After the upload completes, click on the menu on the right side and then on “View Object Details”.

Copy the URL Path.
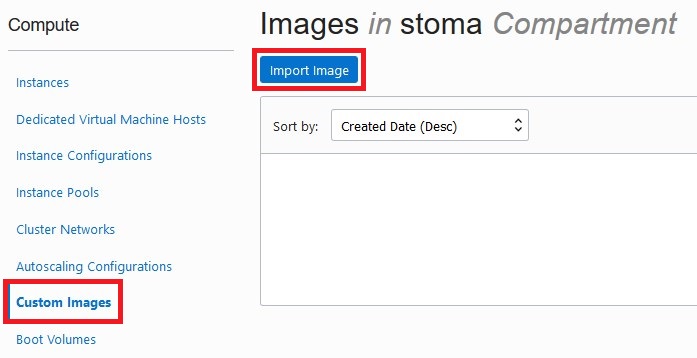
Step 5: Import the Custom Image from Object Storage in your TARGET region:
From the Images Details page, click on “Import Image”
Choose a name, select an operating system, and enter the Path URL from the previous step.
As Image Type select “OCI” and click on “Import Image”.

Step 6: Create a Compute Instance in the TARGET region:
After the import completes, click on “Compute”, “Instances”, and “Create Instance”.
From the “Create Compute Instance” page, click on “Change Image Source”.

Click on the “Custom Images” tab, select the image and click on “Select Image”.

Proceed with instance creation as usual.
The new created Compute Instance now has exactly the same Boot Volume as the source Compute VM, i.e. it has the data and software installed on the Boot Volume.
Migrating the Block Volumes
In case you are using additional Block Volumes on you source Compute VM, we can migrate them as follows:

Step 7: Take a backup of your Block Volume
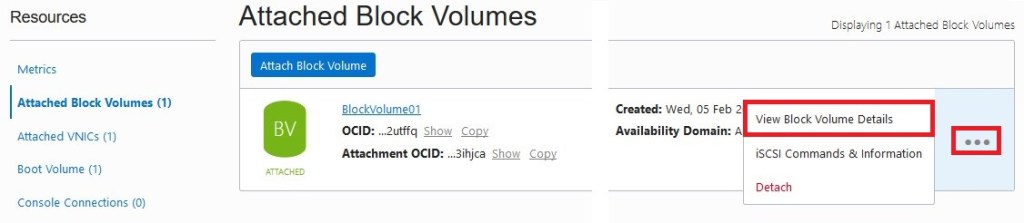
From the Compute Instance Details page, click on “Attached Block Volumes”, then on the menu on the right side, and on “View Block Volume Details”
From there go to “Block Volume Backups” and “Create Block Volume Backup”.

Choose a name, select “Full Backup”, and proceed.
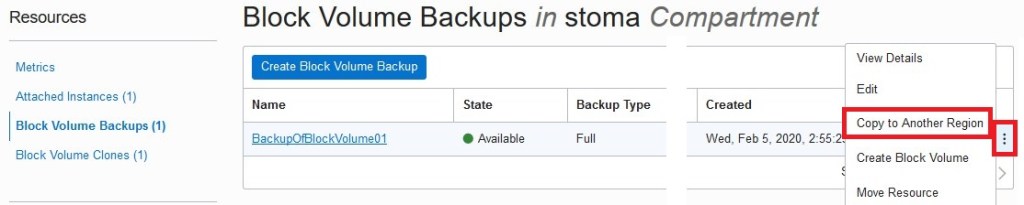
Step 8: Copy the Block Volume Backup to the target region
After the Block Volume Backup has been created, click on “Copy to Another Region” from the right-side menu.
Choose the Destination Region and proceed.
Step 9: Create a new Block Volume in the TARGET region
In the target region, from the Block Volume Backups page, click on “Create Block Volume” from the right-side menu.

Important: for “Availability Domain”, choose the same Availability Domain as your Compute Instance to be able to attach the Block Volume to it.
Proceed with the Block Volume creation as desired.
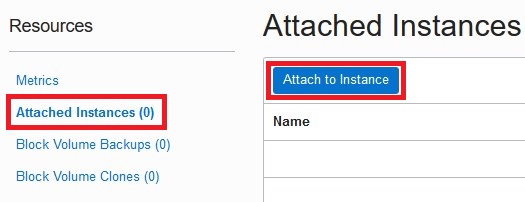
Step 10: Attach the Block Volume to the Compute Instance in the TARGET region
After the Block Volume has been created, attach it to you Compute Instance as usual.
Done!
