

It is critical for organizations to have an overview of their spending, track the consumption, and get notifications if the budget or the forecast exceeds the budget amount to be spent.
In this blog post we will discuss how to set up, monitor, and track your spending in Oracle Cloud Infrastructure using cost-tracking tags, cost analysis, and budgets and alerts.
General overview of the steps we’ll take:
- Create tag namespace and cost-tracking tags
- Create tag defaults
- Create compute VMs and assign a cost-tracking tag to them
- Analyze the cost
- Create budgets and alert rules
Cost-Tracking Tags
Tags define keys and values and associate them with resources. Cost-tracking tags are tags that are passed to the billing system to allow you to filter bills and view usage by tag. An example for a cost-tracking tag is cost-center or a project. Every time you create a resource, you assign a cost-center or a project to it. Later on, you compare and track the usage and cost based on these tags. It is also possible to set up budgets and alerts based on resources grouped by tags.
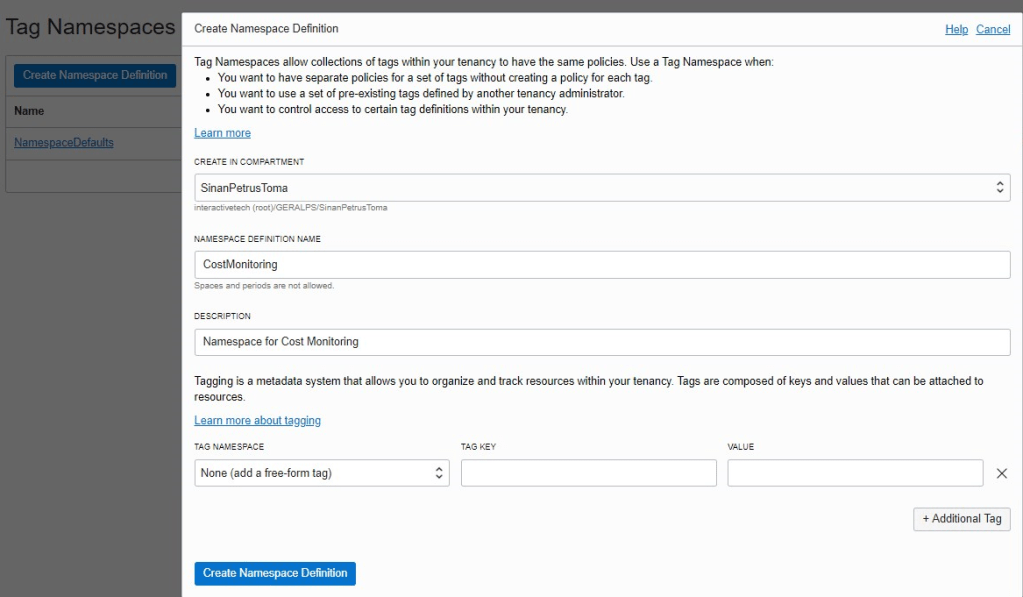
Step 1: create a tag namespace. A tag namespaces is a container for a set of tag keys.
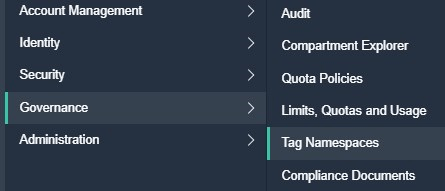
Select “Governance”, “Tag Namespaces” from the menu and click on “Create Namespace Definition”. Enter a name and description and create the namespace.
Step 2: create cost-tracking tags. Click on the newly created tag namespace, then on “Create Tag Key Definition”. Enter a key name and description and enable the “COST-TRACKING” check box. To ensure that only valid values are entered by the user, choose “A LIST OF VALUES” and specify your values to be selected from when using this tag.
Step 3: create a tag default. Tag defaults specify tags that must be applied to all resources at the time of creation in a specific compartment. Select “Identity”, “Compartments” from the menu and click on your compartment name.

On the compartment page select “Tag Defaults” from the Resources list on the left side and click on “Create Tag Default”. Select the tag namespace and the key we created in the previous steps. Select “USER-APPLIED VALUE” so the users can choose from the one of the values we defined in step 2 (Project_A, Project_B, or Project_C) when they create resources in this compartment.
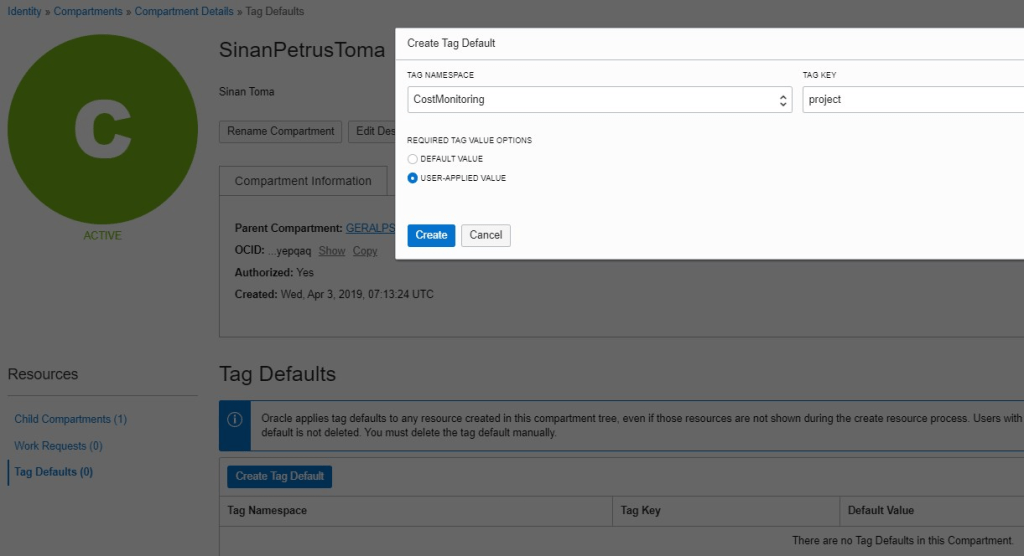
You can define the same tag as tag default in multiple compartments. Sub-compartments inherit the tag defauls from parent compartmetns automatically.
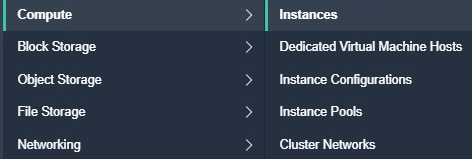
Step 4: create your resources. We are going to create two different compute VMs.
Select “Compute”, “Instances” from the menu and click on “Create Instance”.
The first VM would be for project A and needs 1 OCPU while second VM for project B needs 2 OCPUs.

While creation, if we don’t specify a tag value for the “project” tag we fail to create the resouce, because “project” is defined as tag default in the compartment (Step 3).

So we choose “Project_A” for the first VM and “Project_B” for the second as tag values.
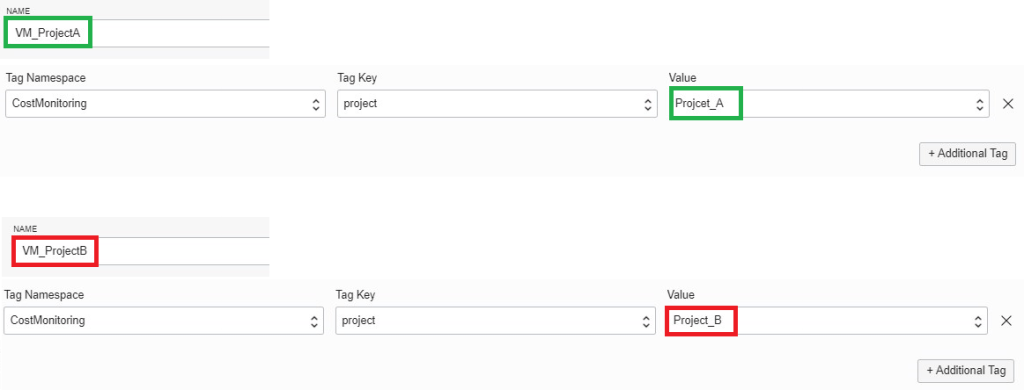
After creation, check the tag values on the “Tags” tab on the details page.
The tag will be automatically assigned to further resources belonging to the compute instance, e.g. VNIC and boot volume. If the compute VM is stopped and CPU cost is paused, the cost for the storage usage by the boot volume is still tracked by the same tag.
Cost Analysis
Step 5: Use the Cost Analysis visualization tool to track and optimize your spending. It allows you to generate charts and download tabular reports of aggregated cost data on your consumption.
Select “Account Management”, “Cost Analysis” from the menu.

Choose the time period and if you want to show cost or usage. Click on “Add Filter” and select “Tag”. Here select the tag namespace and tag key we created in the previous steps. Choose to show all or specific values. In this example we are also grouping by the same tag.
As a result, project B is consuming double as much as project A which is what we expect as we assigned 1 OCPU for the compute VM for project A and 2 OCPUs for project B.

Note: the newly created namespace and cost-tracking tag might not appear in the drop-down menu until a resource with the tag has usage recorded, which might take 25-48 hours after the usage to be processed through the system and show up.
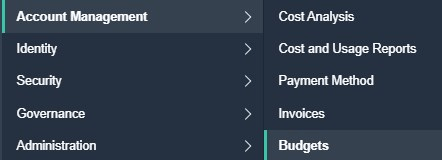
Budgets and Alerts
Step 6: create budget and alerts to get email notifications if actual or forecast usage exceeds a specific threshold.
Select “Account Management”, “Budgets” from the menu and click on “Create Budget”.
First choose the scope for your budget:
- Compartment: to track spending for all resources in a specific compartment
- Cost-tracking tag: to track spending for all resources with a specific tag. These might be spread across multiple compartments.
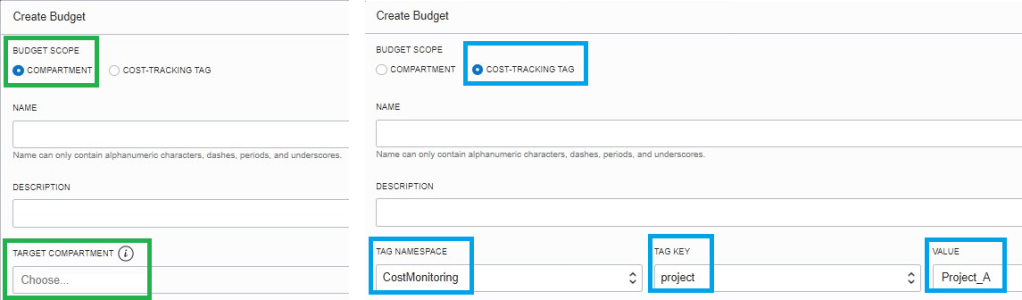
Enter the budget amount, e.g. 10,000 USD.

Define an alert rule:
- Threshold metric: based on actual or forecast spend.
- Threshold type: based on percentage of the budget or an absolute amount.

In the example on the left side you would get an alert after spending 90% of the budget, which is 9,000 USD. This would be 18,000 USD if you increase the budget to 20,000.
In the example on the right side you would get an alert after spending 5,000 USD, independent of the total budget amount.
Both examples are based on actual spend. You could define additional ones with the same values but based on forecast spend to be notified when it appears that you’ll exceed the budget. The forecast algorithm is linear extrapolation and requires at least 3 days of consumption to trigger.
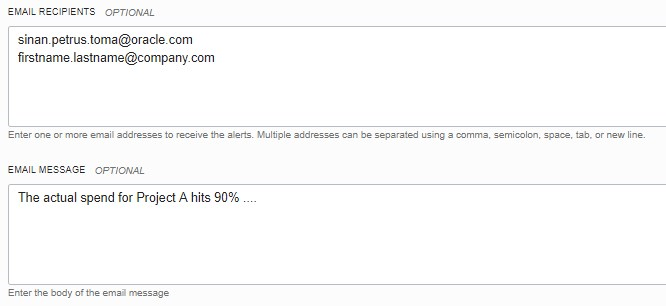
Finally, enter the email recipients and email message to be sent.
After creating the budget you can add additional alert rules. E.g. at 50% notifying the users and at 90% notifying the project manager.

Conclusion
Cost-tracking tags provide the flexibility to monitor usage and cost for specific resources across compartments. Budgets and alerts can also be set based on cost-tracking tags to get email notifications when the usage or forecast exceeds a specific threshold.
